
Animated short
- Dates:
Feb 2018 - Jun 2018 - Team :
-
Nathan BIETTE
Jean-Raphael CORNEL
Erwan CULERIER
(With the help of Gregoire PIGANEAU) - Technologies:
Augmented
Augmented is an animated short created by 3 persons in one semester for the 3D Graphics course of Eurecom Graduate School. It shows a mercenary agent, in a cyberpunk universe, sent on a mission to retrieve critical data stored on a floppy disk. It has been created in Maya, rendered with Arnold renderer and edited with Vegas editing software.
Augmented, final version
My contributions
-
Assembled the team and managed the project from beginning to end (weekly goal setting, project organization)
-
Textured, modeled or imported assets in the scene (walls, robot, shelves, crates, doors, soldier bodies ...)
-
Animated everything in the scene using keyframes : main character, robot, cameras, falling bottle, ligths ... except the main character before the robot appears
-
Oversaw the rendering of every camera shots to ensure scene consistency and image quality
Project Description
Project goals
The very early goal of the project was to create a film that would be of better quality than the average quality of the project of past years. To do so, we started to work on the project very early (our first meeting happened just after the first course of 3DGraph) and we kept a steady effort until the end of the project. During the first meeting we decided to make a film inspired by the trailer for a video game : Cyberpunk 2077. It would take place in a cyberpunk bar and would involve a main character in a realistic environment.
CyberPunk 2077 (2013) teaser trailer
There were other propositions of project (a fantasia like animated magician room, a race of pod racers...) but we ended up picking this one while keeping the possibility to switch to another project if it were to become undoable for some reason.
We decided to split the film in two parts : the first part in slow-motion where the camera would tell a story by showing some elements in the setting and a second part where the action would take place and the animation of the main character would happen.
This way we could concentrate on building the static bar first (and have a deliverable to show) and then if time would allow, to make the animations of the main character and the surroundings.
Story, Aesthetic and Characters
The scenario was refined all along the project, starting from the idea that something went wrong in a bar and that we were going to explain things one after the other by just showing the right details in the right order.
The artistic direction chosen for the project was realistic cyberpunk, which means a dystopian sci-fi universe.
Synopsis:
Tavia, an agent of an activist organization, also known as “augmented”, is sent in the bar “The Analog”, to proceed to an exchange with her contact. She is supposed to get a valuable piece of intel stored on an old piece of tech: a floppy disk. But as she was waiting for her contact, things went wrong and a sweep squad intervened. After fighting them and finding the floppy in the safe under the bar, she is waiting for further instruction.
At the very beginning of the project we spent quite some time to design the story board. We thought about the architecture of the bar and how we would film the point of interest inside it. It resulted in this story board we used as a reference document throughout the project:
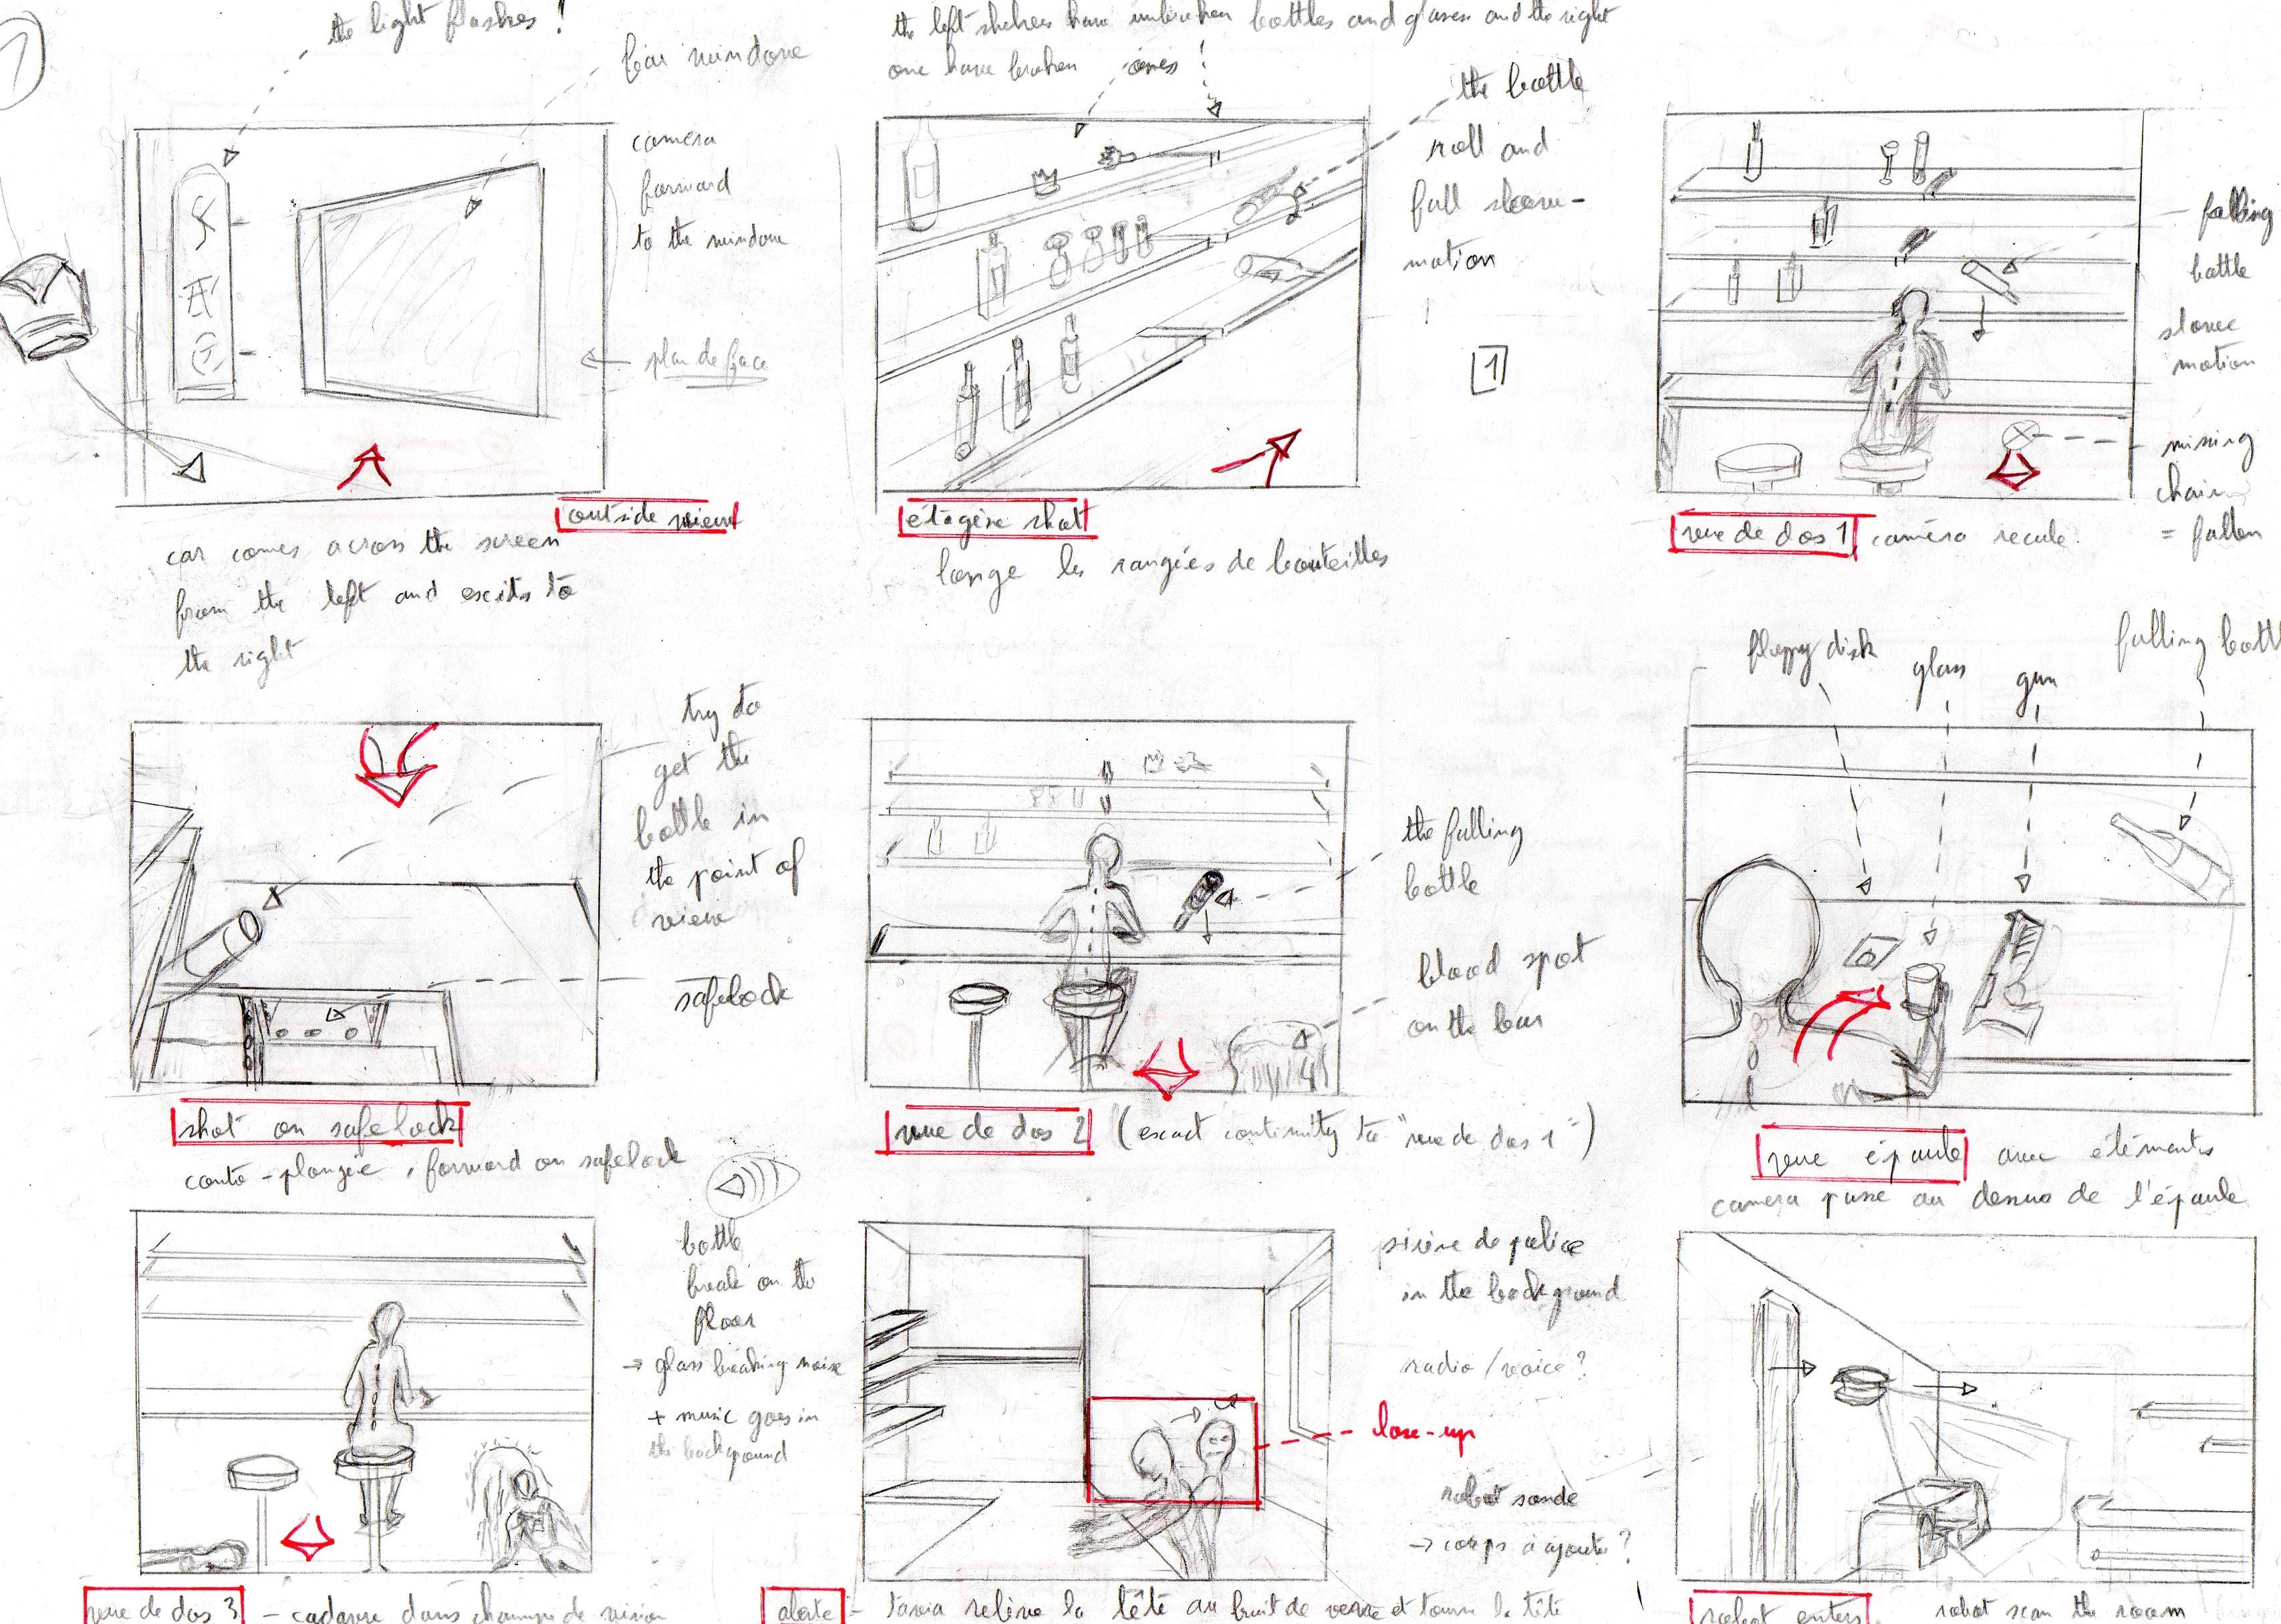
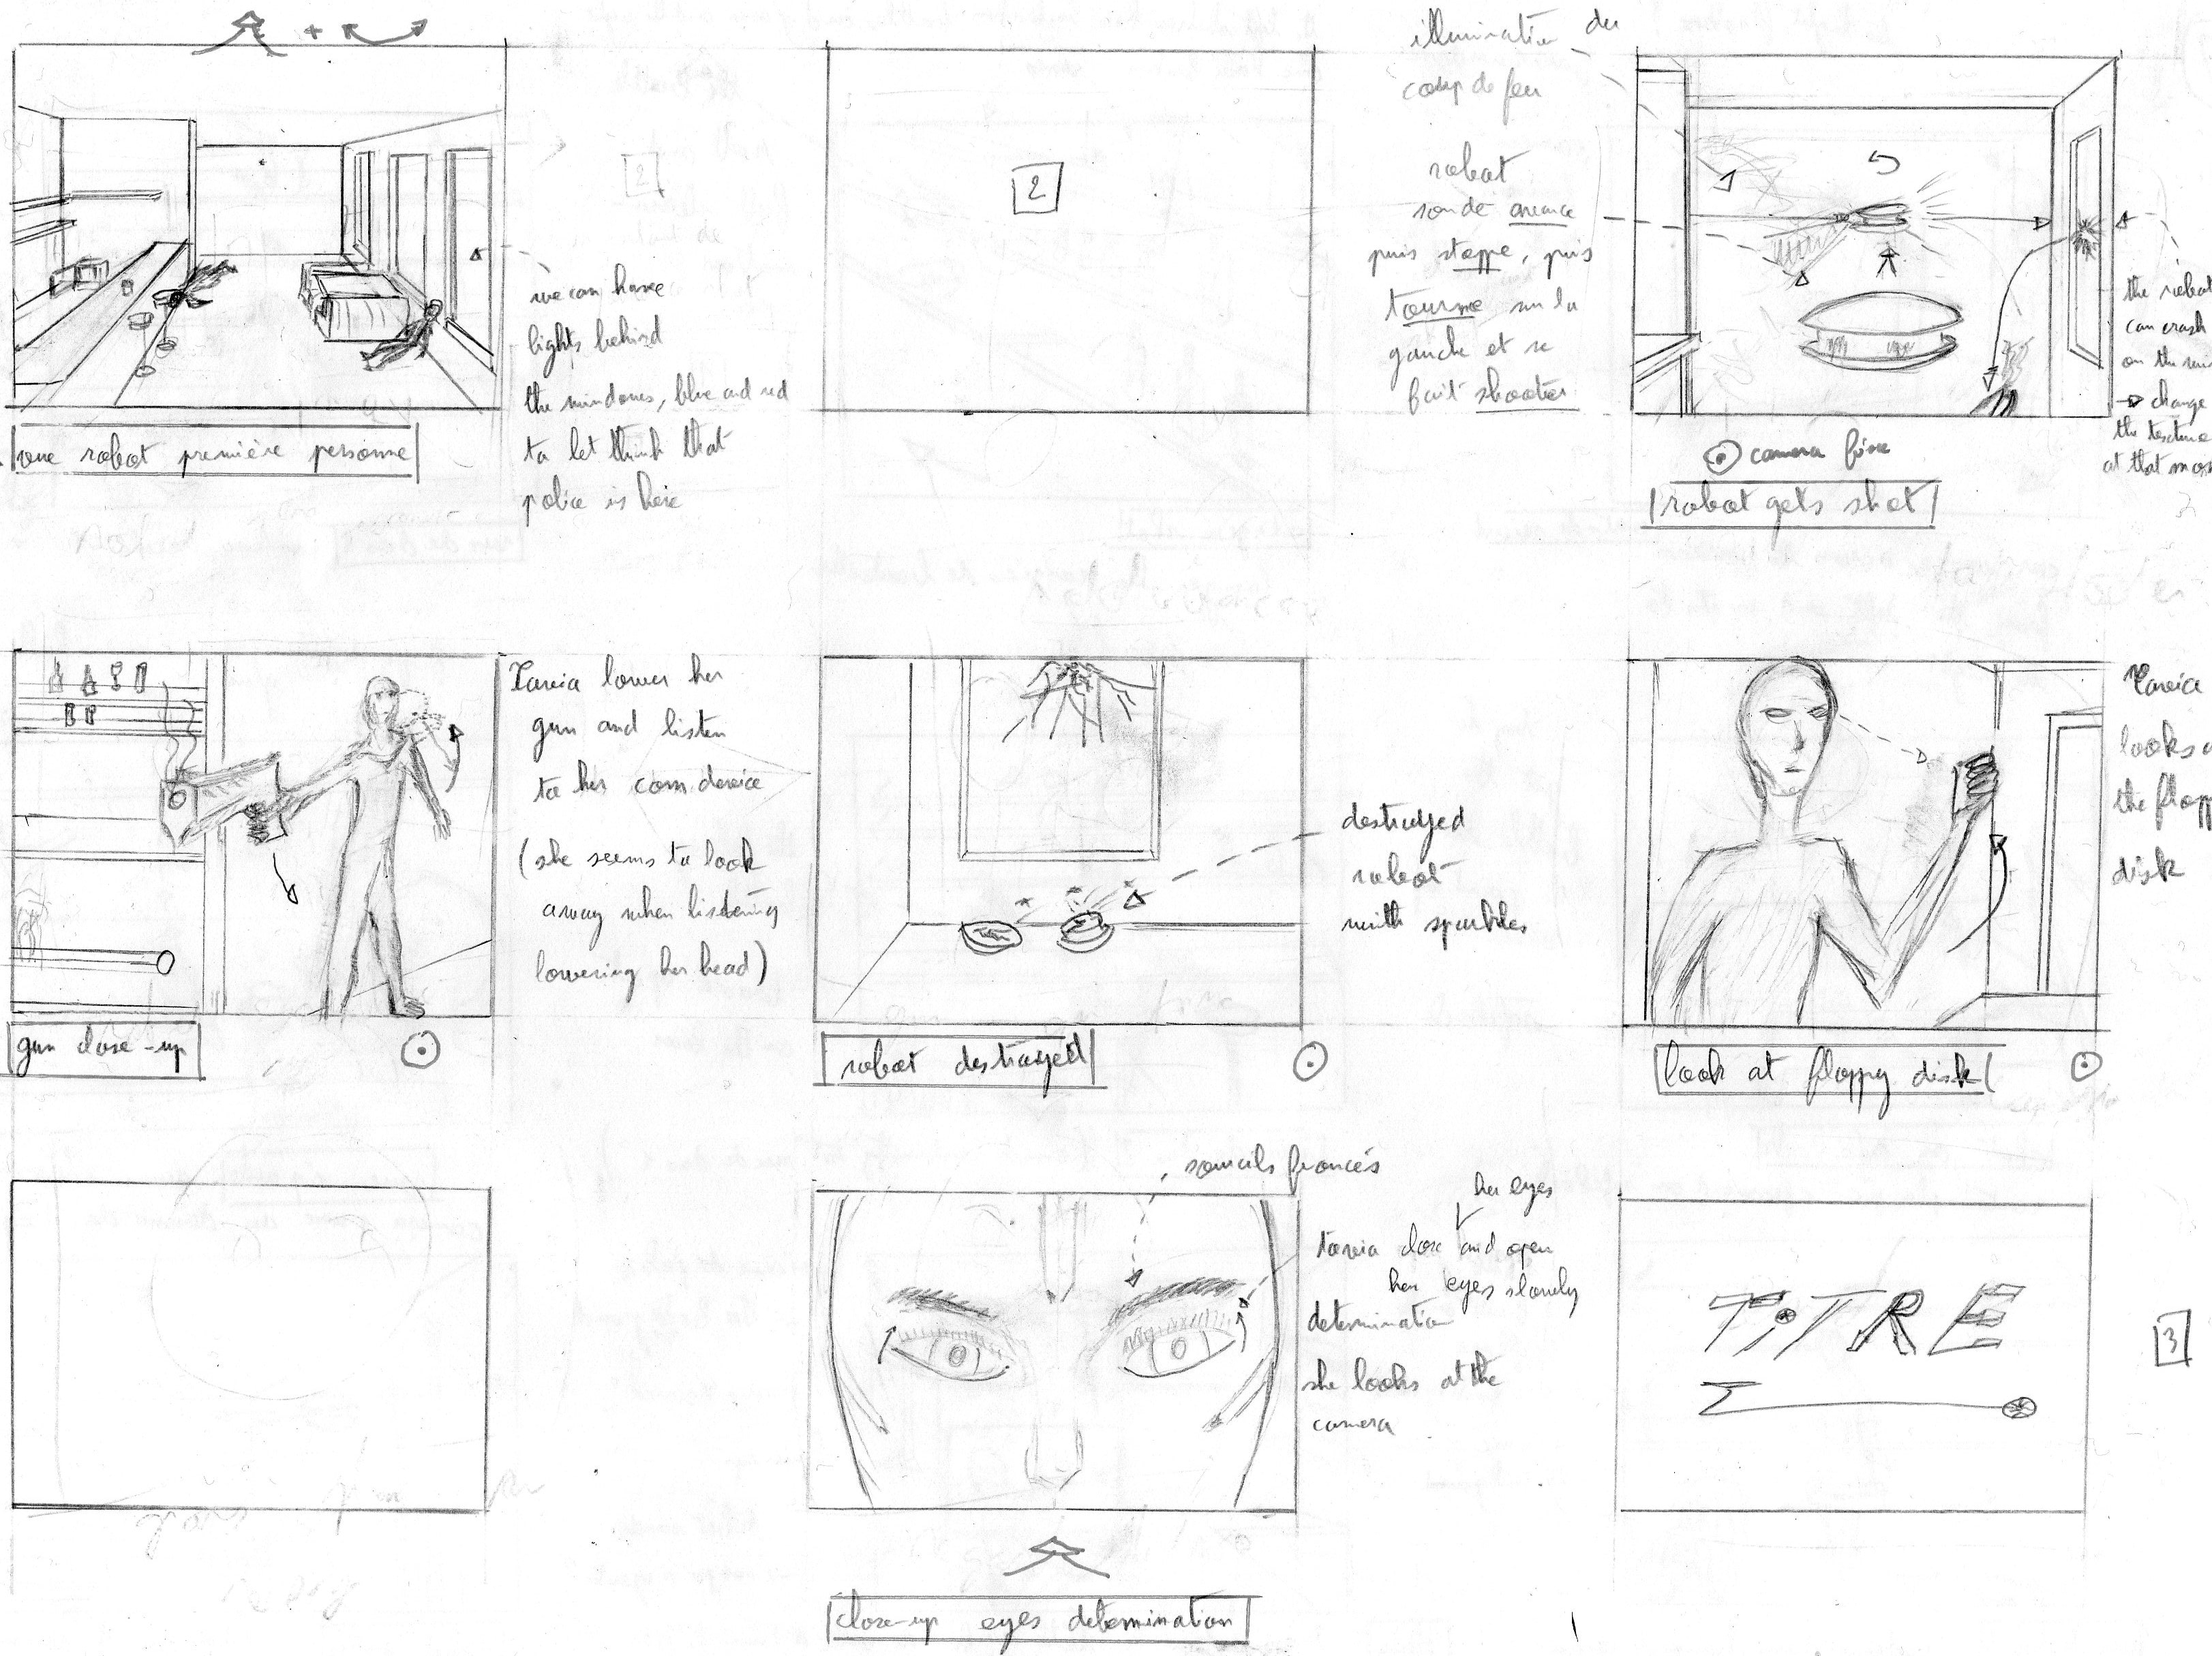

The storyboard I drew as a reference document
For the artistic direction, we took our inspiration from diverse example of sci-fi bar but we more specifically decided to integrate a retro aesthetic taken from american dinners (hence the red and white of the furnitures and the big neons, the arcade and the jukebox).

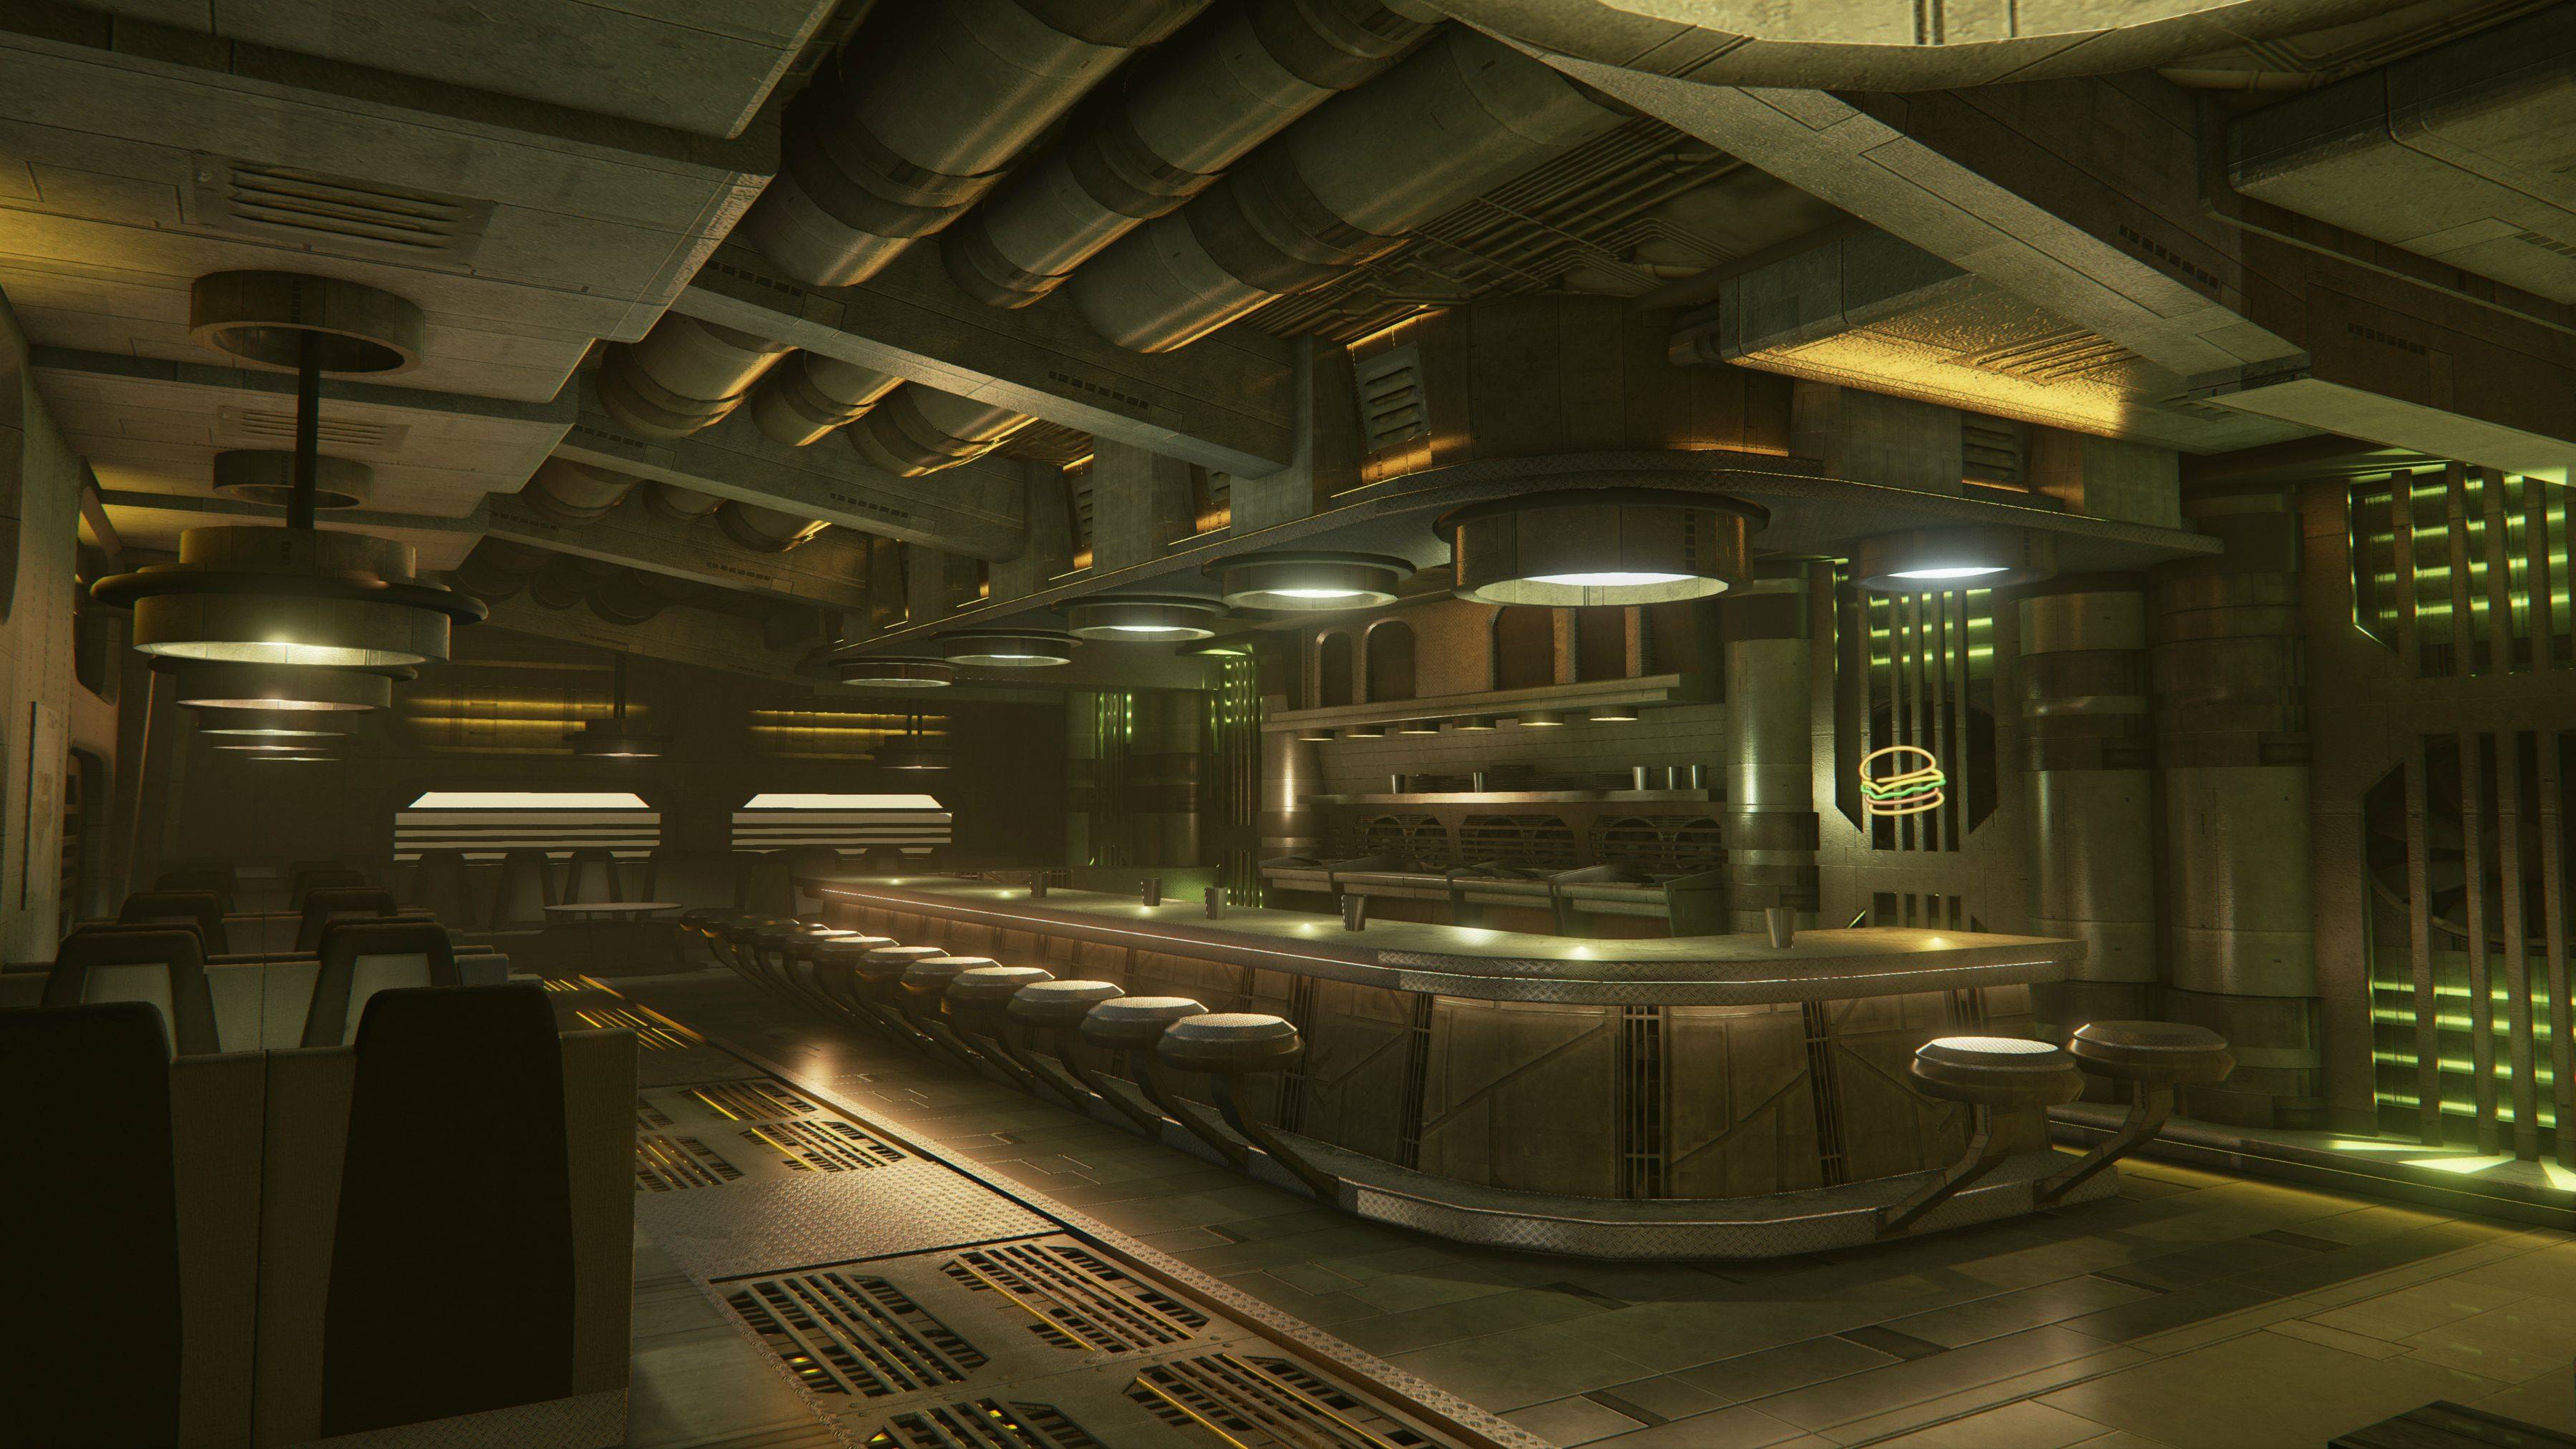
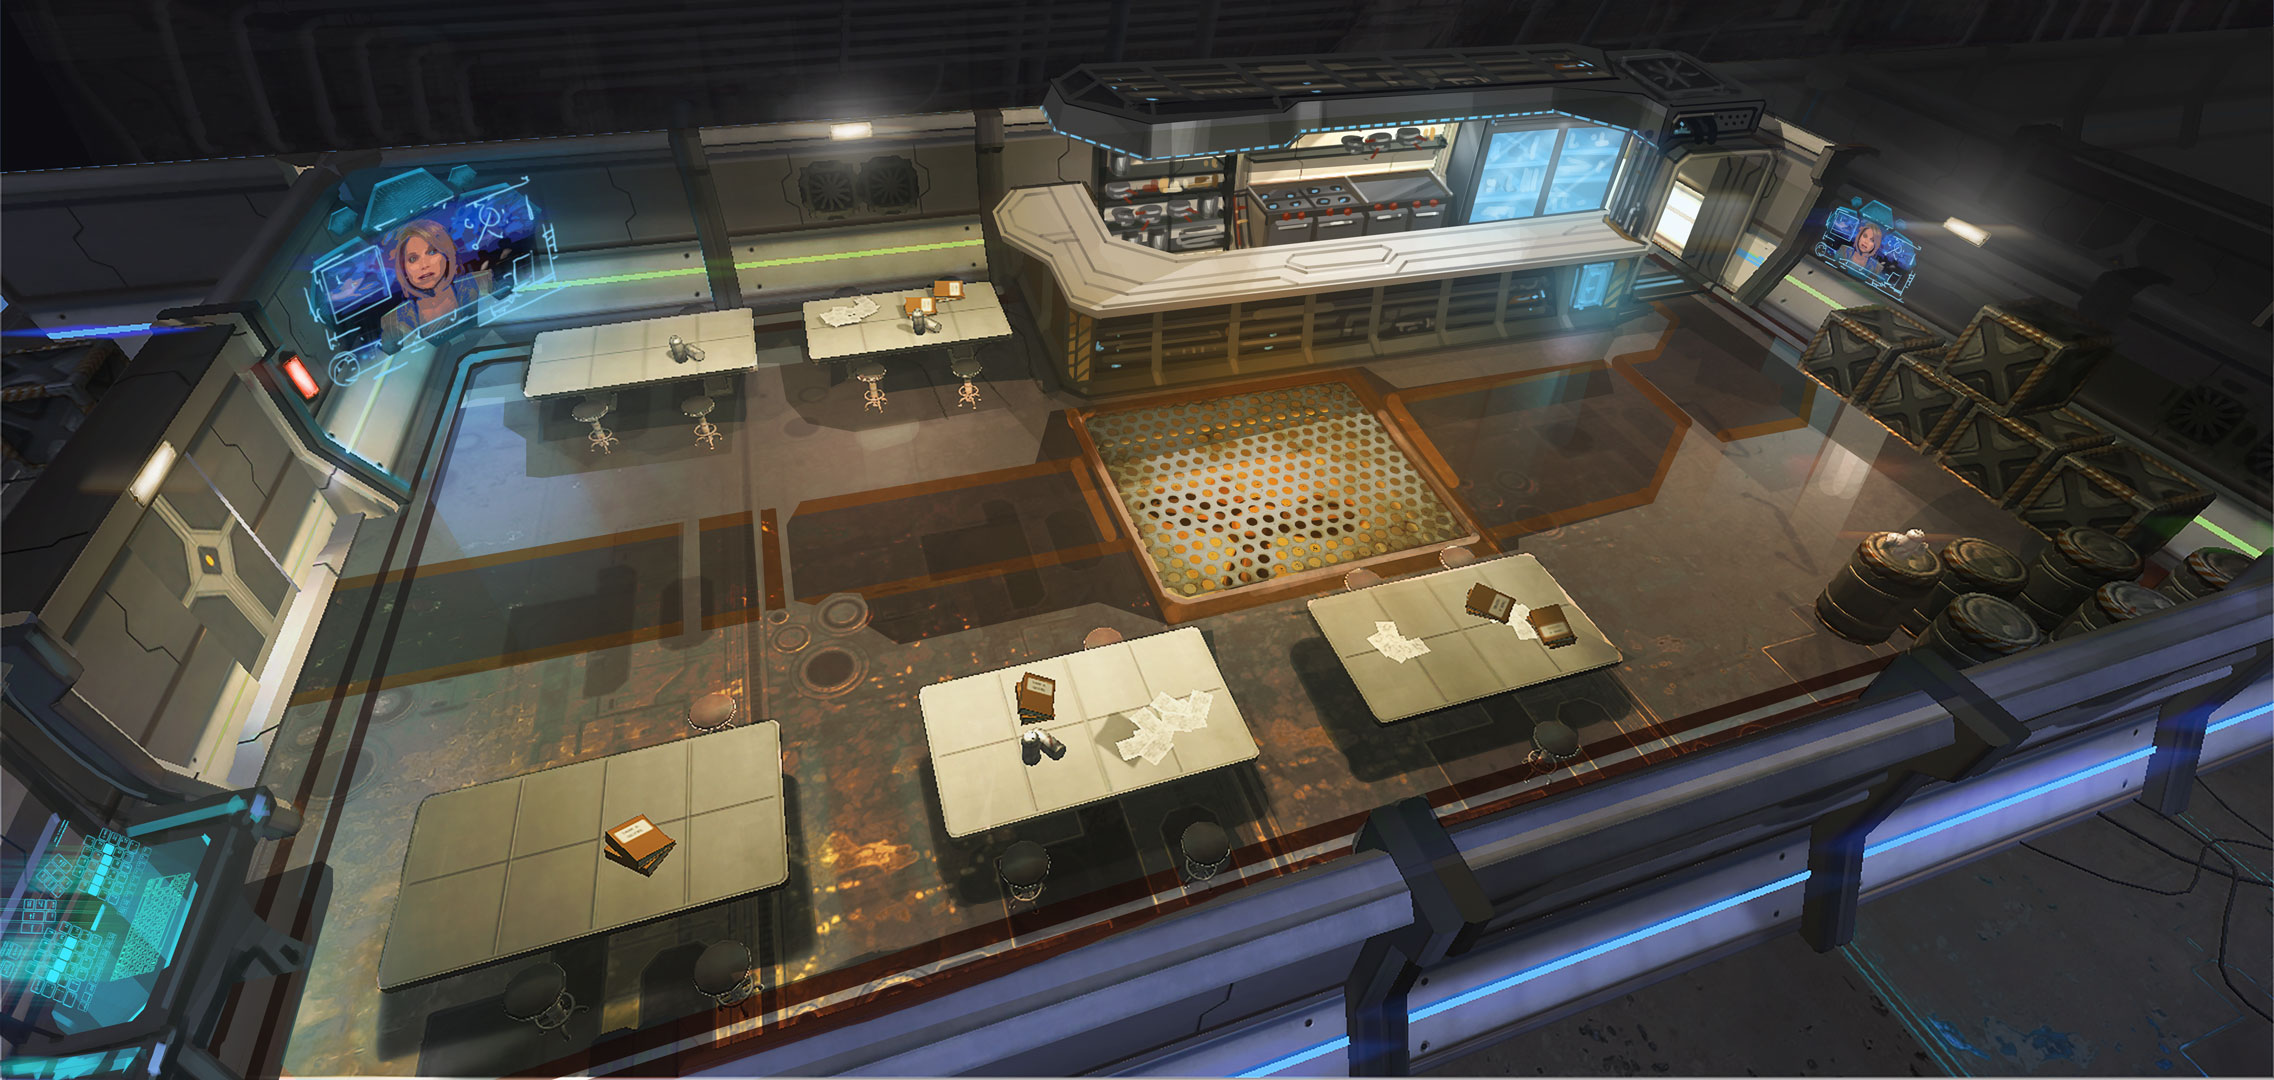
Here are some artworks we used as source of inspiration
Creating a realistic setting with many details
The real challenge in the project was the realistic setup and the realistic character that it involved while keeping a relatively high quality. In fact, to achieve a realistic aesthetic, it requires a lot of details. This realistic aspect explains many challenges we faced.
To overcome this difficulty we decided to spend some time gathering a list of many free assets that would fit in our scene.
The idea was to minimize the time spent in creating assets from scratch and rather concentrate our efforts in adapting assets found on the web to our scenes to keep a coherence in term of ambiance and aesthetic. Therefore most of the work consisted in importing assets in Maya (usually changing their material to get them renderable by Arnold renderer) and adapting them by modifying their textures, their model, their size … etc.
Of course, with so many assets, came the issue of how to organize the work of the people and the versioning of our scenes.
We solved this, by naming someone “master” of the main scene and having the other importing, adapting, placing their assets in their version of the main scene before removing everything but the asset and “pushing” their asset for the “master’s” integration.


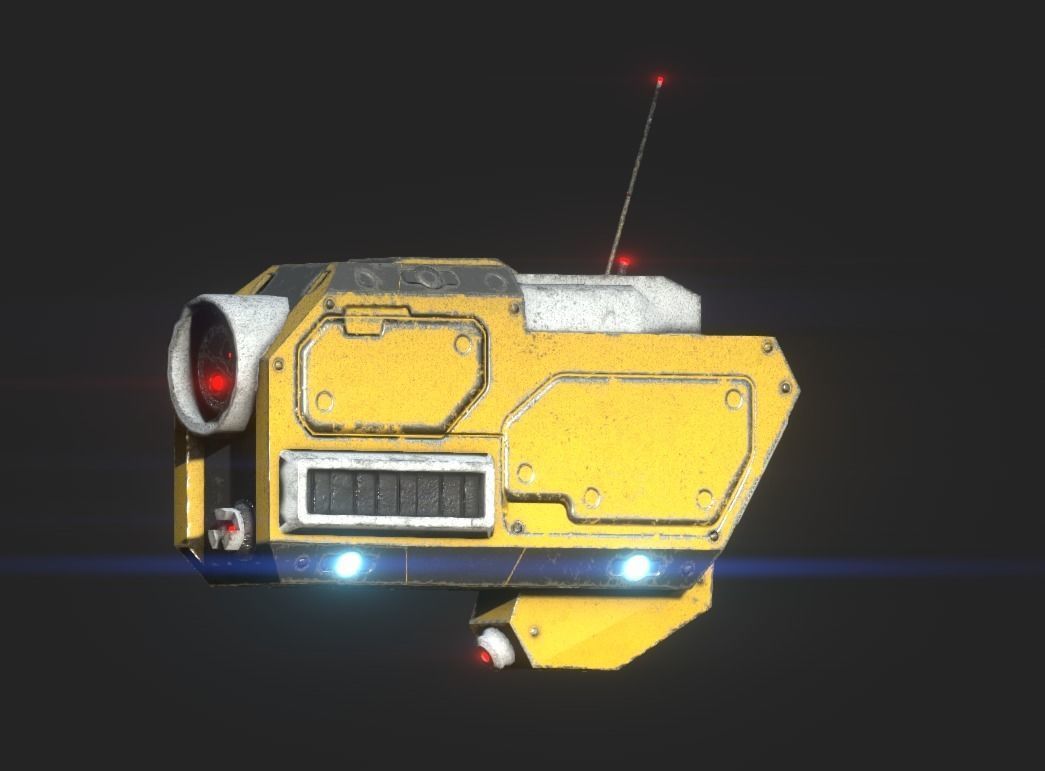
Assets found online, retextured and used in Augmented
Animating a complex character
We knew that modelling, texturing and animating our own realistic human character was impossible, therefore we had to find an asset that would enable us to do the realistic animations.
It had to be rigged and fit in our aesthetic and general ambiance and to be complex enough to look “good” in the final product. So, after some research, we found a free asset of a video game character, fully rigged with inverse kinematics built-in, lots of controls and a sci-fi aesthetic. However, it needed some tweaks as the textures weren’t adapted to Arnold and some dynamic behavior of the model weren’t responding well, resulting in strange deformation.
It proved to be quite challenging to animate, as we couldn’t just use some pre-made animations from the web. After a first try, it turned out that a realistic model was needed, therefore we filmed someone performing the animation and used the video timing as a reference for our animation. It resulted in a much more realistic animation. But the more keyframe we added in the animation sequence, the more complex it became for the cpu to compute the movements of the character, resulting in very very recurrent crashes of Maya, which considerably slowed down the animation work.
Augmented animation work preview
Animating and rendering a complex set of shots
To get a good result, we had to have a variety of shots, while having in mind the timing of those shots, linked to the music, respecting the constraint of the rendering time and keeping the rendering quality high enough. At some point it became really difficult to get just the right time for the shots (enough frames to fit in the final editing of the video but not too much to get an acceptable rendering time) while having the right moves for the cameras (to avoid awkward transitions) and avoiding mistakes due to errors in the static scene (floating items, items in the way of the animation… etc), poor rendering quality (noise due to low light sampling on specular surfaces for example) and the darkening of the scene because of the removal of indirect diffuse lightning in order to remove indirect diffuse noise (we made some local lighting to resolve this issue). To manage such complexity, we had one person creating most of the shots, reviewing them and correcting the shots from others in order to get a uniform result and assigning the rendering to everyone so that every personal computer was rendering most of the time.

Our best case production schedule
Organizing the project
First, we organized the project in a set of phases. We didn’t split the work according to the type of activity because there was a dependance between each phases (animation could be performed only once the room of the bar was close to be finished, because we needed to know where the items were placed in order to animate our character around them). What we did was rather to split the work in a set of asset to produce.
We organized a meeting every week. It enabled us to review the work performed during the week and to state the objectives of the following week.
We made three schedules to organize ourselves, the first one (see above) is the schedule where everything was going fine, the second one was in case of unexpected issue that would have slowed down the progress of the project. In that case, we would create more scene for the “static” bar and forget about the animation part (or reduce it to a minimum).
The last one was in case of complete failure of the project leading to a switch to another project instead, easier and more manageable in the remaining time frame. Fortunately, we managed to stick to the first schedule. Everything didn’t go as planned of course, but by applying more resources to the project (thanks to Grégoire Piganneau) and parallelizing some tasks more than what was initially planned, like the animation and modelling, we managed to finish on schedule while achieving most of our initial goals.